

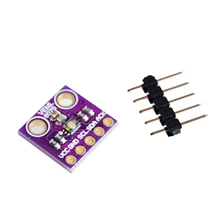
In this article we will take a look at the VEML6070 sensor and connect it to our Raspberry PI. lets take a look at the VEML6070 first
The VEML6070 is an advanced ultraviolet (UV) light sensor with I2C protocol interface and designed by the CMOS process. It is easily operated via a simple I2C command. The active acknowledge (ACK) feature with threshold windows setting allows the UV sensor to send out a UVI alert message.
Under a strong solar UVI condition, the smart ACK signal can be easily implemented by the software programming.
VEML6070 incorporates a photodiode, amplifiers, and analog / digital circuits into a single chip. VEML6070’s adoption of FiltronTM UV technology provides the best spectral sensitivity to cover UV spectrum sensing. It has an
excellent temperature compensation and a robust refresh rate setting that does not use an external RC low pass filter.
The VEML6070 has linear sensitivity to solar UV light and is easily adjusted by an external resistor. Software shutdown mode is provided, which reduces power consumption to be less than 1 μA. VEML6070’s operating voltage ranges from 2.7 V to 5.5 V.
Layout
Lets look at how you connect the sensor to your Raspberry Pi
An I2C device that just needs 3.3v and GND as well, so its pretty simple to connect to your Raspberry PI, the layout below shows a Raspberry PI 3 but you can use others as well
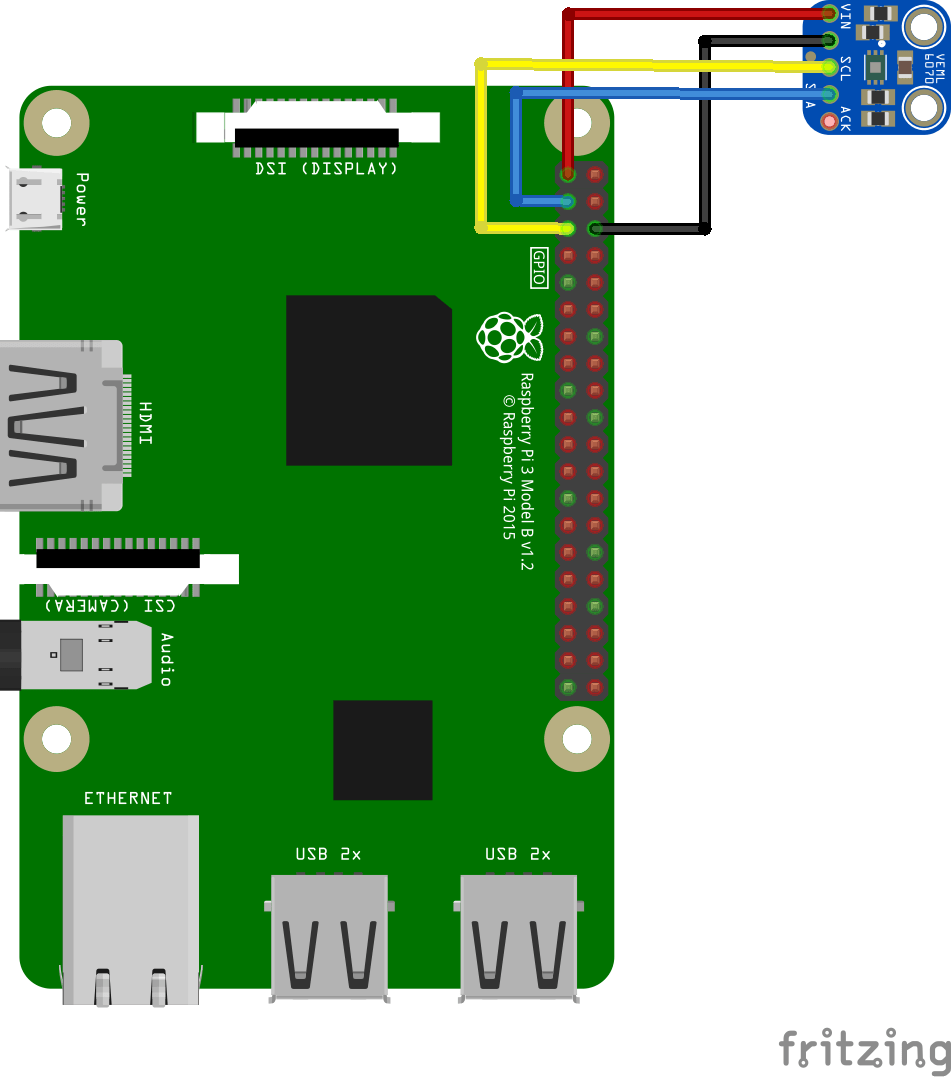
pi and veml6070 layout
Parts List
Here is a parts list generated from the fritzing layout above. The sensor costs about $3
| Amount | Part Type | Properties |
|---|---|---|
| 1 | VEML6070 | GY-VEML6070 UV UV light sensor VEML6070 |
| 1 | Raspberry Pi 3 | Raspberry Pi 3 Model B Board 1GB LPDDR2 BCM2837 Quad-Core |
Code Example
[codesyntax lang=”java”]
// Distributed with a free-will license.
// Use it any way you want, profit or free, provided it fits in the licenses of its associated works.
// VEML6070
// This code is designed to work with the VEML6070_I2CS I2C Mini Module available from ControlEverything.com.
// https://www.controleverything.com/products

import com.pi4j.io.i2c.I2CBus;
import com.pi4j.io.i2c.I2CDevice;
import com.pi4j.io.i2c.I2CFactory;
import java.io.IOException;

public class VEML6070
{
	public static void main(String args[]) throws Exception
	{
		// Create I2CBus
		I2CBus bus = I2CFactory.getInstance(I2CBus.BUS_1);
		// Get I2C device, VEML6070 I2C address is 0x38(56)
		I2CDevice device = bus.getDevice(0x38);

		// Select command register
		// Integration time = 0.5T, shutdown mode disabled
		device.write((byte)0x02);
		Thread.sleep(500);

		// Read 2 bytes of data
		// uvlight msb, uvlight lsb
		byte[] data = new byte[2];
		data[0] = (byte)device.read(0x73);
		data[1] = (byte)device.read(0x71);

		// Convert the data
		int uvlight = (((data[0] & 0xFF) * 256) + data[1] & 0xFF);

		// Output data to screen
		System.out.printf("UV Light of The Device : %d %n", uvlight);
	}
}
[/codesyntax]
sudo java VEML6070.java
Output
You should see something like this, I tested this indoors

veml6070 output