

2.2K
In this example we will connect and LDR up to our Arduino and display the reading on a bargraph display.
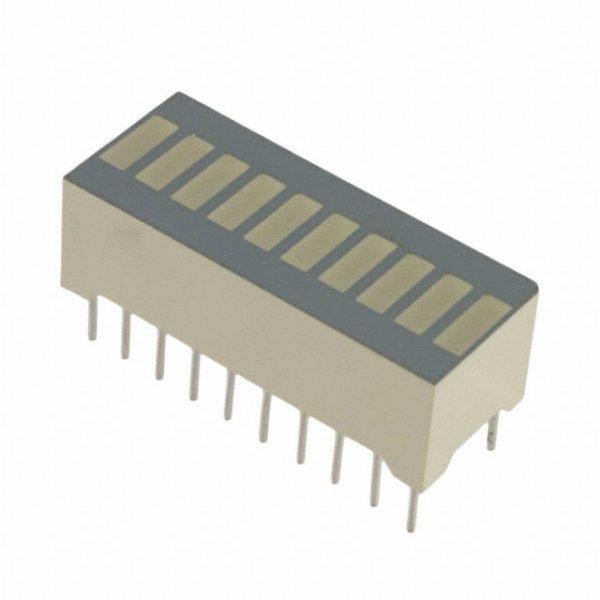
A typical bargraph display looks like the one below, mine was labelled as a FJB10R
Parts List
You will need the following and also breadboard and cables.
| Amount | Part Type | Properties |
|---|---|---|
| 1 | LED_BARGRAPH_10 | segments 10; package led_bargaph_10 |
| 1 | Arduino Uno (Rev3) | type Arduino UNO (Rev3) |
| 10 | 330Ω Resistor | resistance 330Ω; tolerance ±5%; bands 4; package THT; pin spacing 400 mil |
| 1 | Photocell (LDR) | resistance@ luminance 16 kOhms@ 10 lux; package THT; resistance@ dark 300 kOhms@ 10 seconds |
| 1 | 10kΩ Resistor | resistance 10kΩ; tolerance ±5%; bands 4; package THT; pin spacing 400 mil |
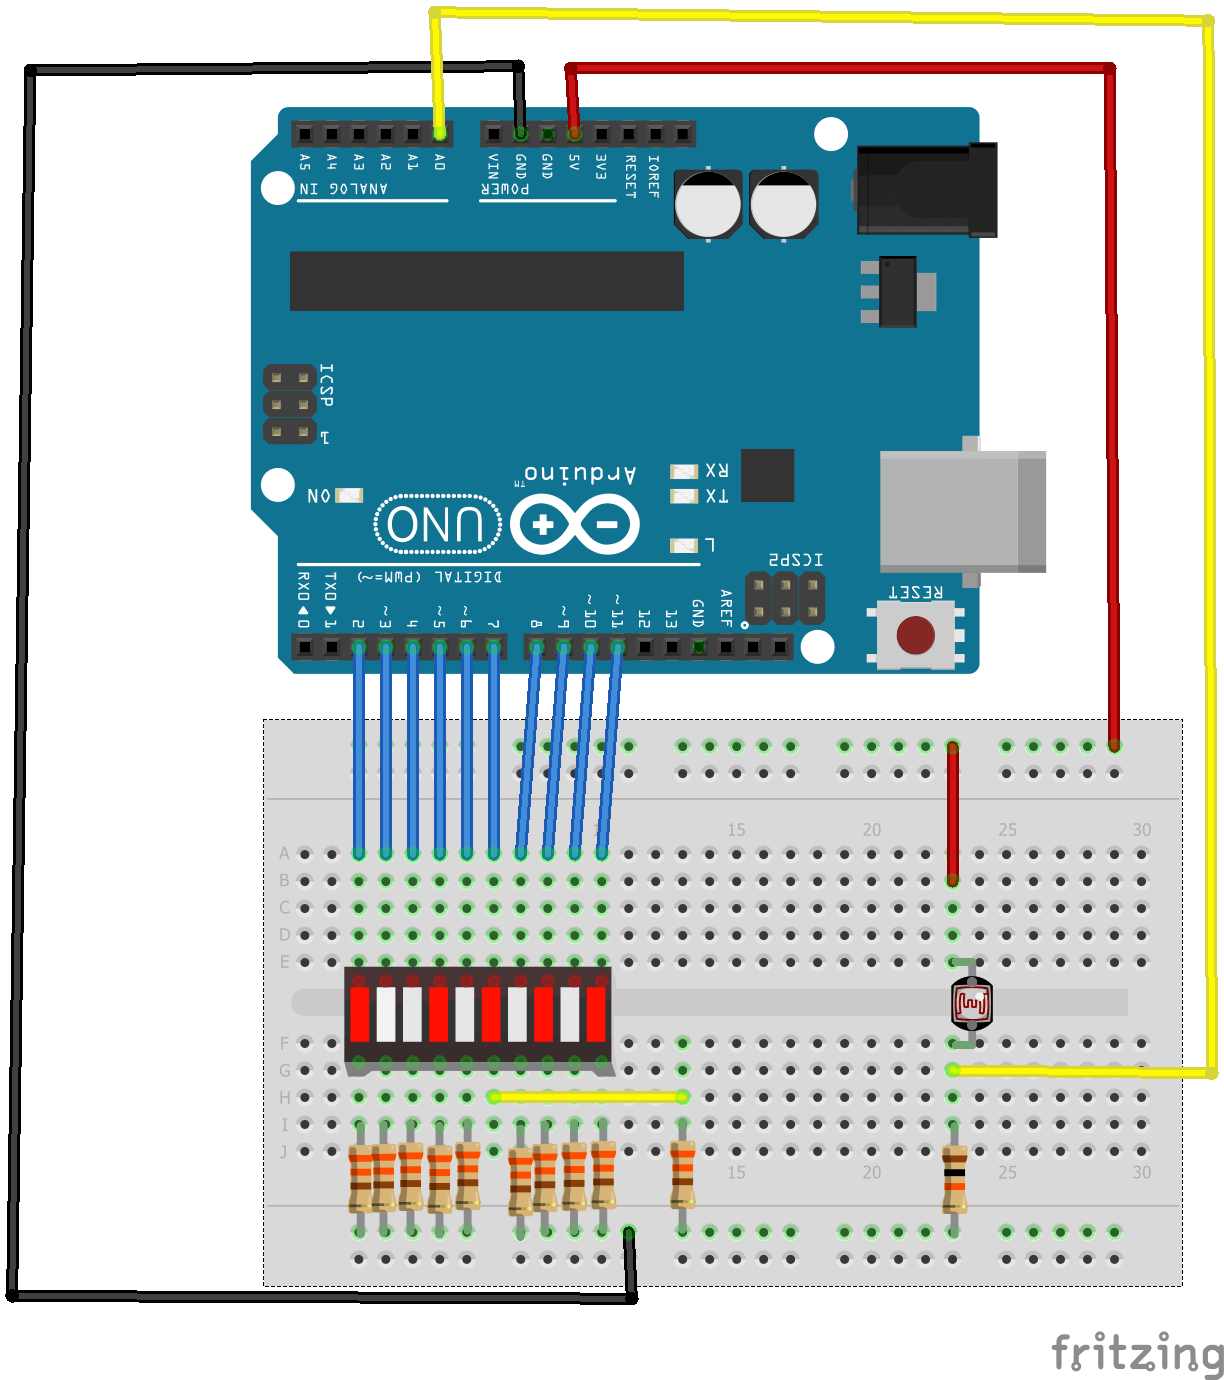
Layout
Here is the layout, I connected the output from the LDR circuit to A0 and used D2 to D11 to connect to the bargraph, obviously this uses a lot of I/O so that is something you may want to think about
Code
Very basic example here
[codesyntax lang=”cpp”]
void setup ()
{
   for (int i = 2; i <=11; i ++)
   {
        pinMode (i, OUTPUT);
   }
}

void loop ()
{
   int ldrvalue = analogRead (A0);
   int k = map (ldrvalue, 0, 1000, 2, 11);
   for (int j = 3; j <14; j ++)
    {
       if (j <= k)
           digitalWrite (j, HIGH);
       else
           digitalWrite (j, LOW);
    }
}
[/codesyntax]
Cover the LDR and shine light on it, you should varying amounts of LEDs on the bargraph lit