

I bought a couple of proto shields but was dissapointed to see that unlike stripboard which I like to use most of them are just pads that are not linked together. So I decided to see if I could adapt parts I had at hand, I looke dat Arduino headers but looked at standard headers
Requirements
Stripboard of your choice
Headers
Drill bit
Procedure
I started with the Digital Pins connector 0 – 7. 8 Way header required, so I cut a 40 pin 2.54mm straight header pins
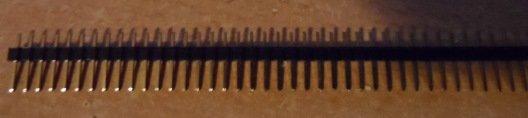
header
Place the first header and solder one pin to keep the header in place. now solder the rest in place, you can see this in the picture underneath. Be careful not to short any pins. The header should not be visible on th etop side of the stripboard.
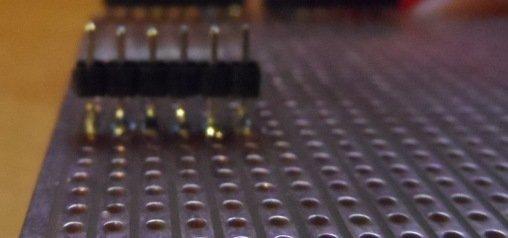
soldered stage 1
Check for any short circuits, very important
Gently push down the black plastic on the header
header pushed down
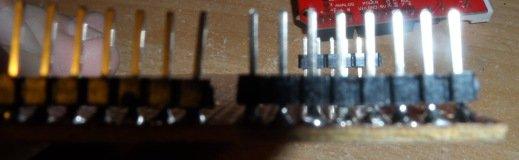
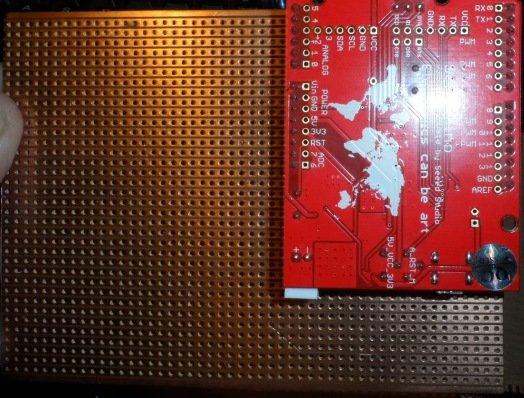
Now repeat this for the other connector on the same side. Its not a perfect fit because of the gap between the 2 headers. Do the same routine as before. Check that you have a good fit on your Arduino
Now repeat for the other connectors, Analog in and Power. Use your Arduino to get an exact fit or as good as is possible and use for keeping the headers in the best position
Using a drill bit, like the one below. Cut the tracks between both sets of headers.
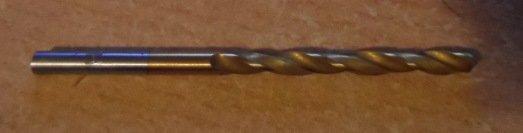
drill bit
Here you can see the cut tracks
Check for any short circuits
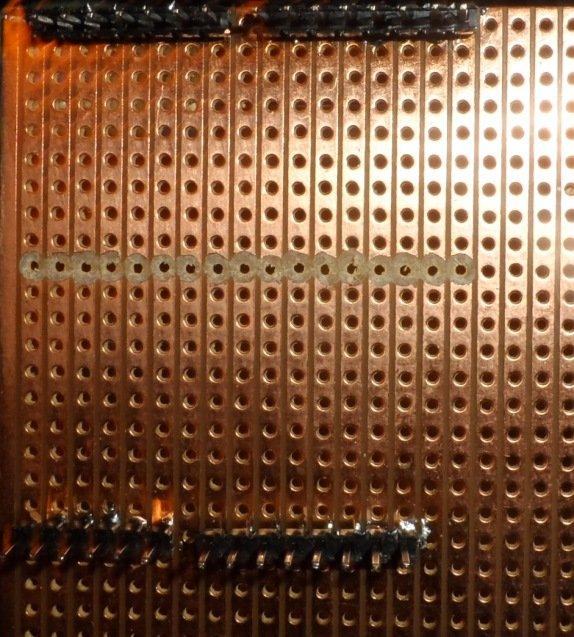
cut tracks
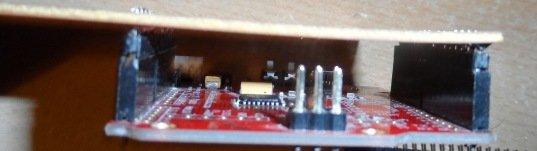
Now lets look at the finished product
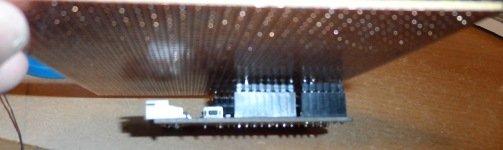
side view
stripboard mounted on arduino
under view of board
You can cut the stripboard to size or whatever size you desire, as you can see its possible to create a basic prototyping board for design purposes using standard prototyping stripboard and headers that many people have at home.